


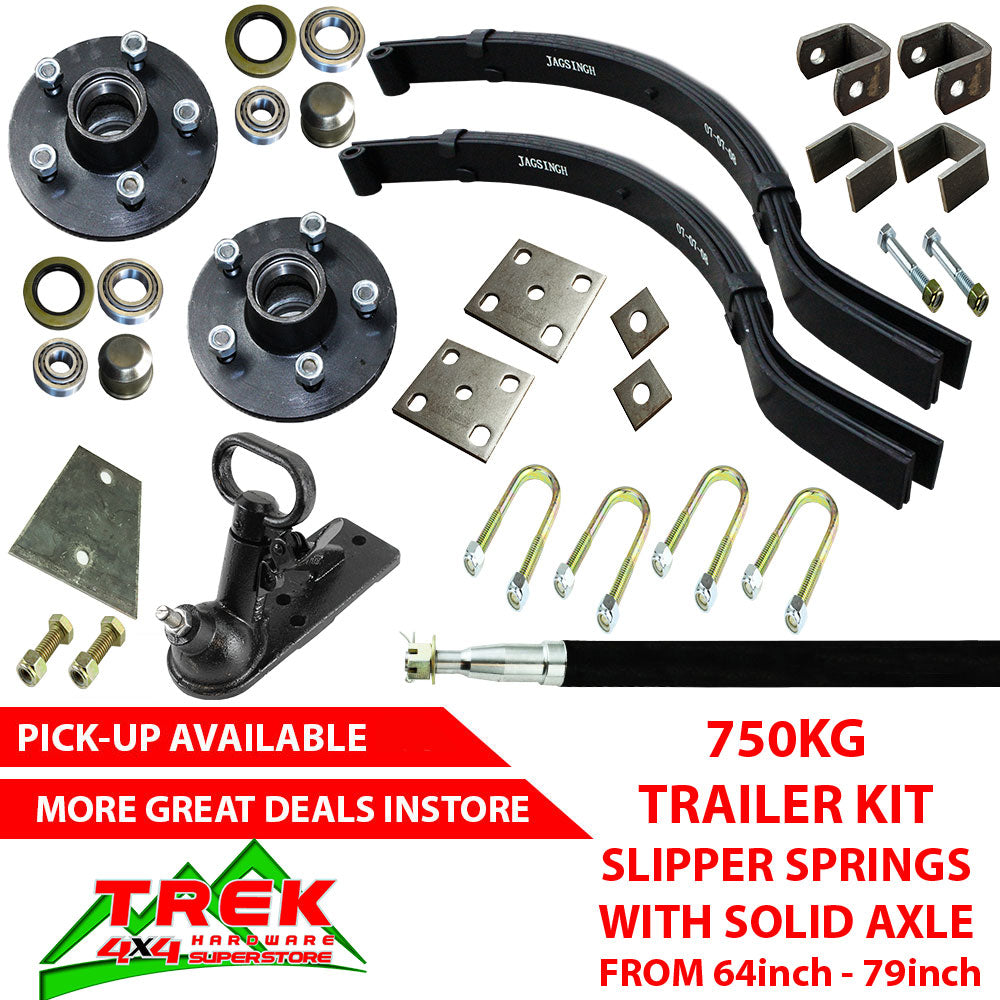
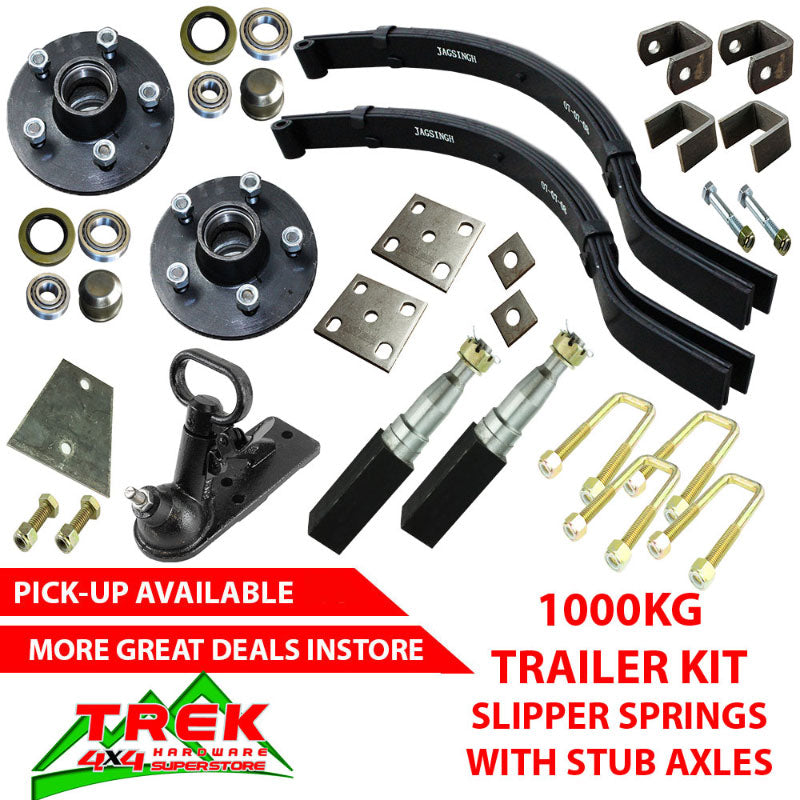
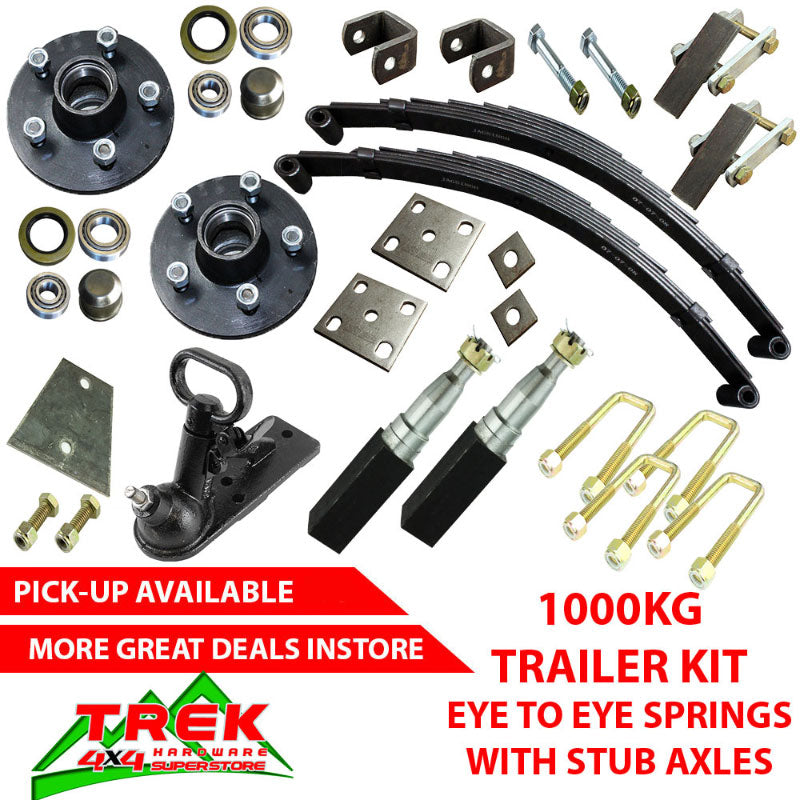
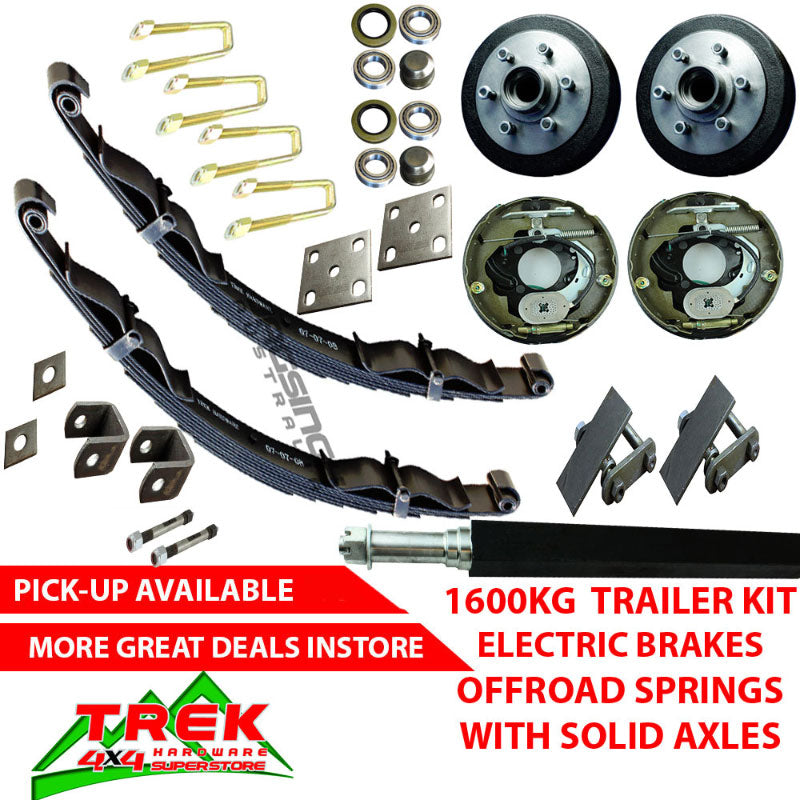
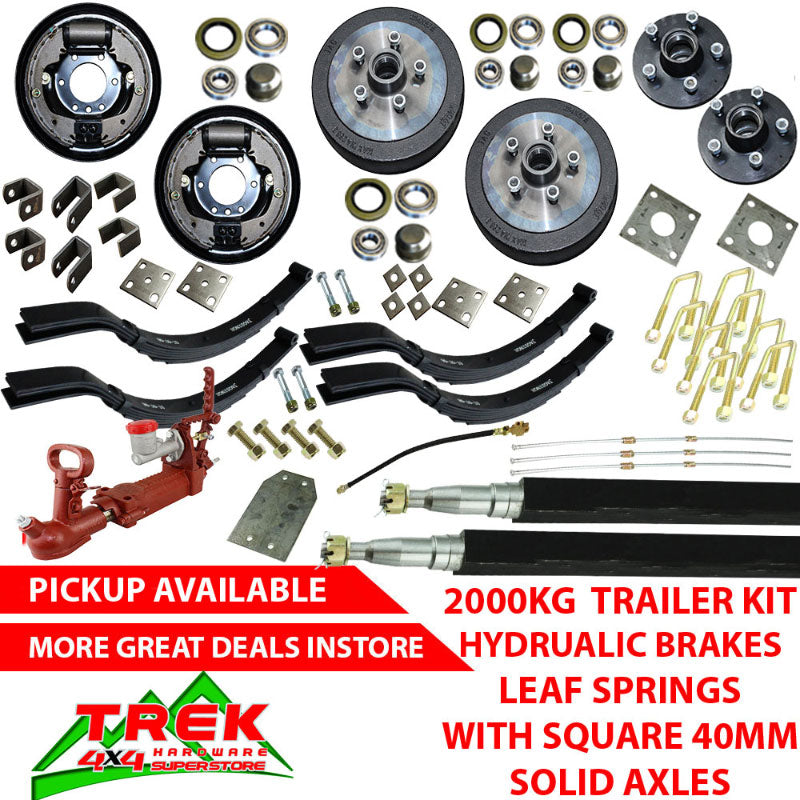
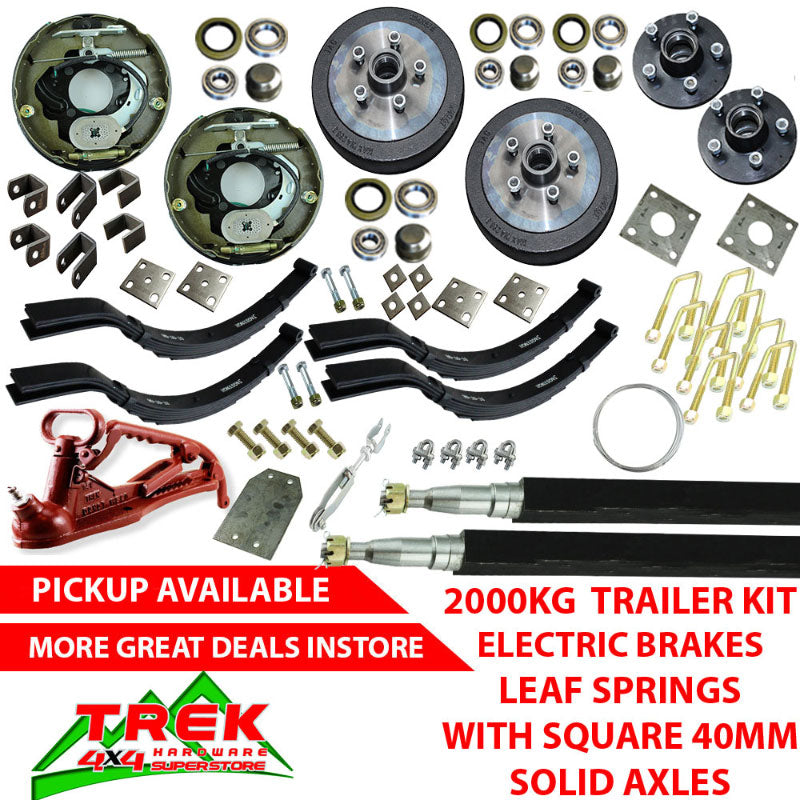
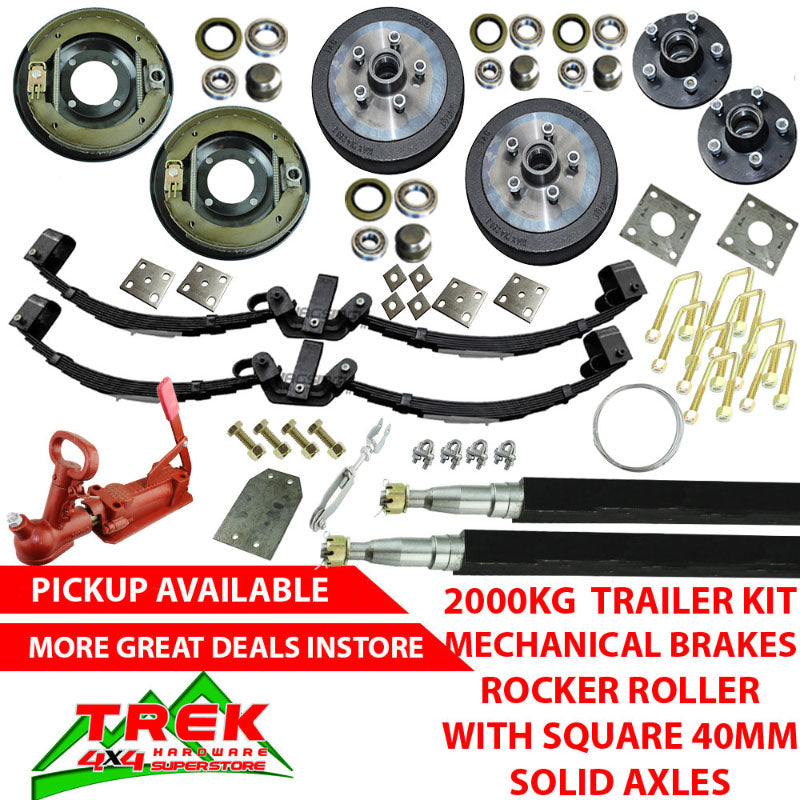
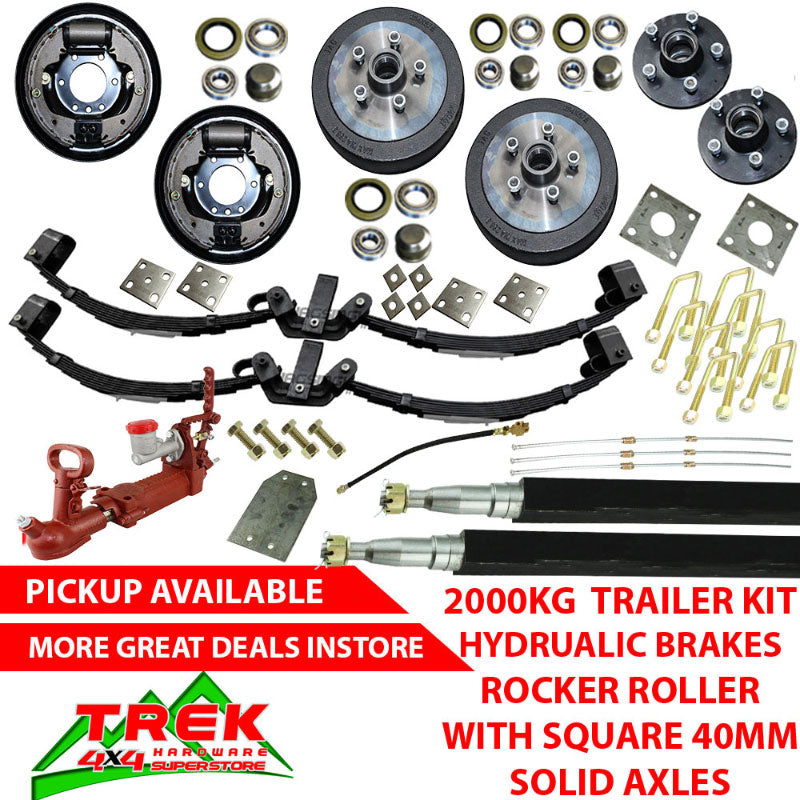
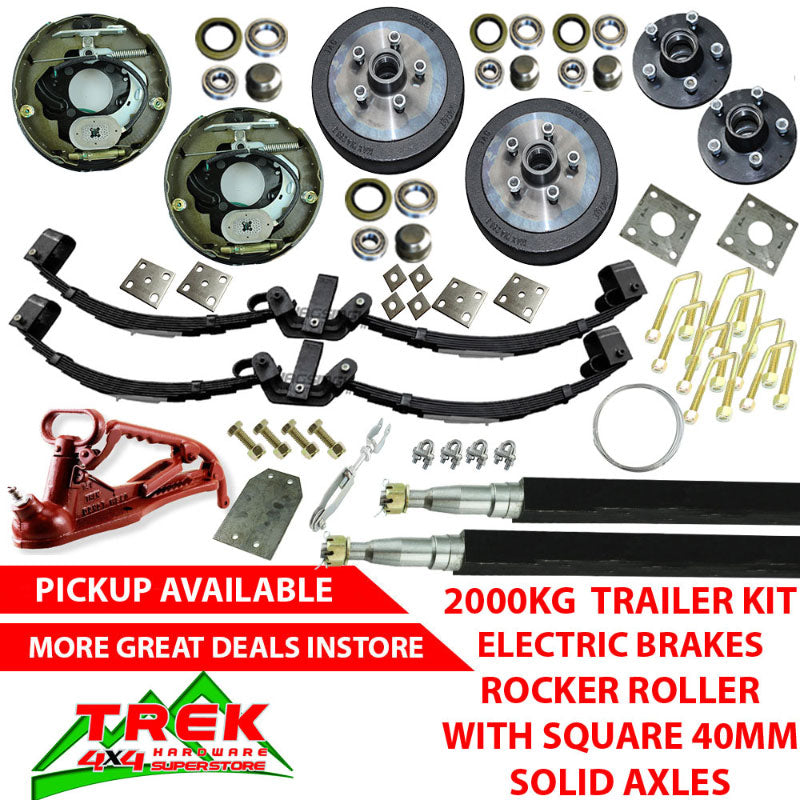
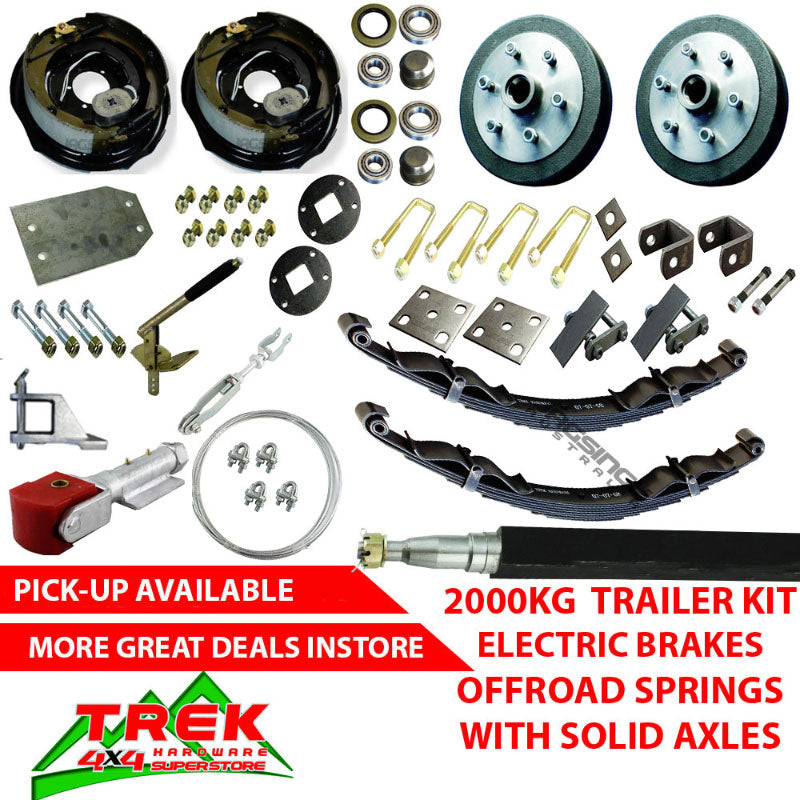
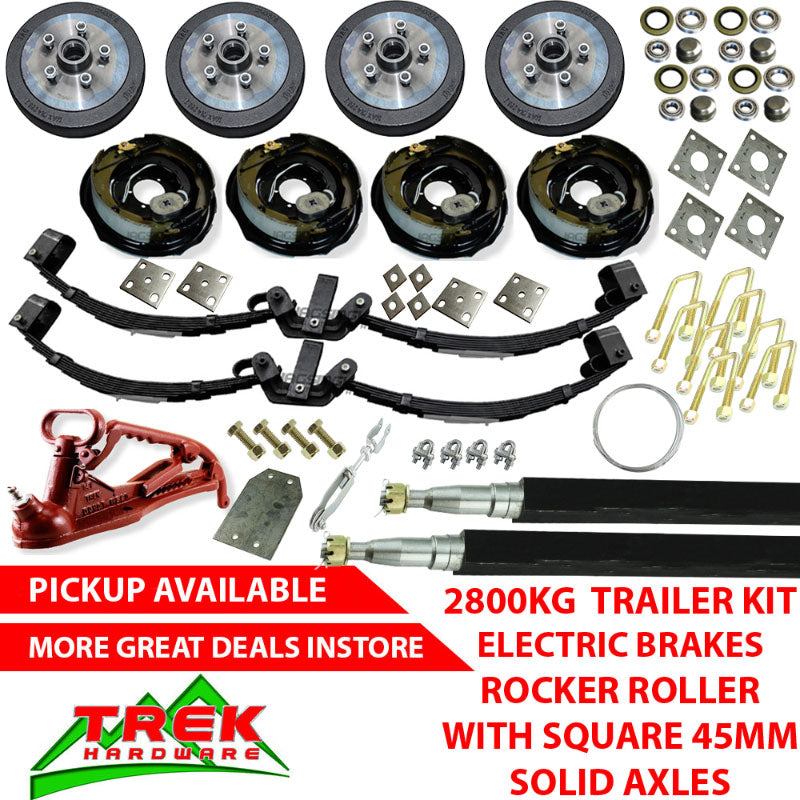
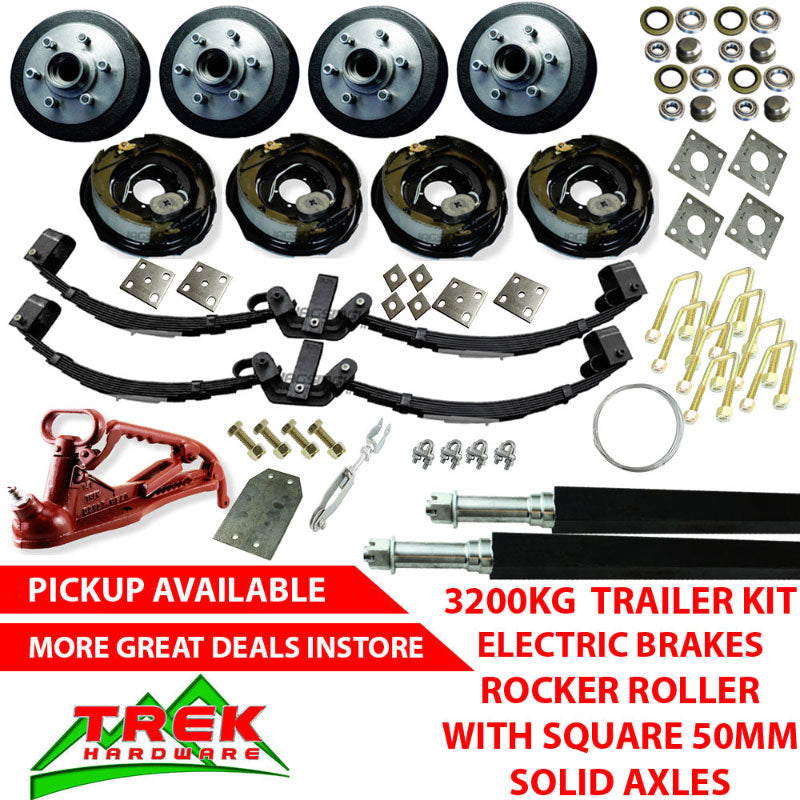
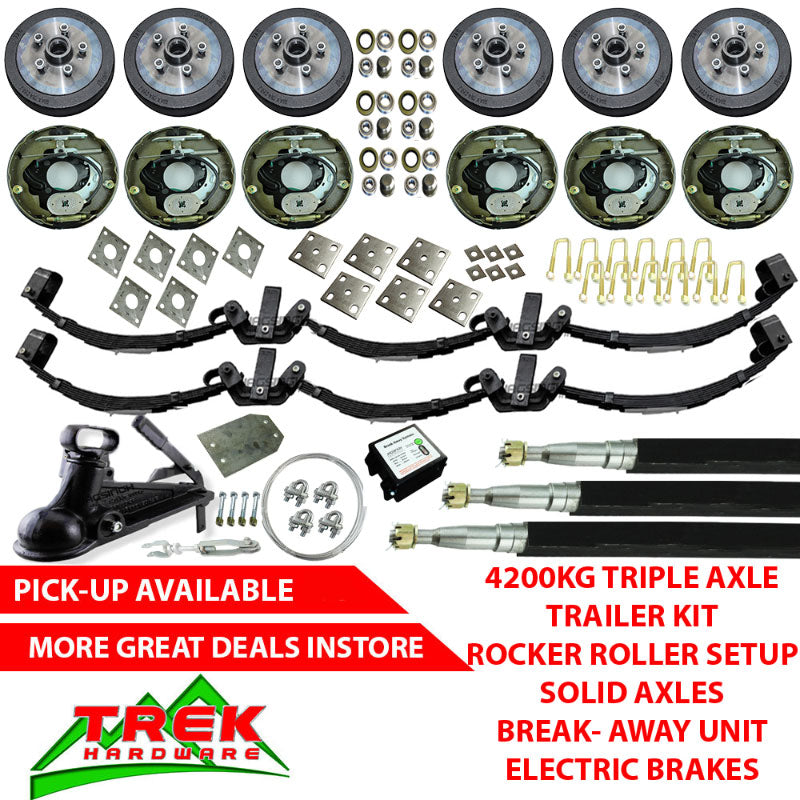
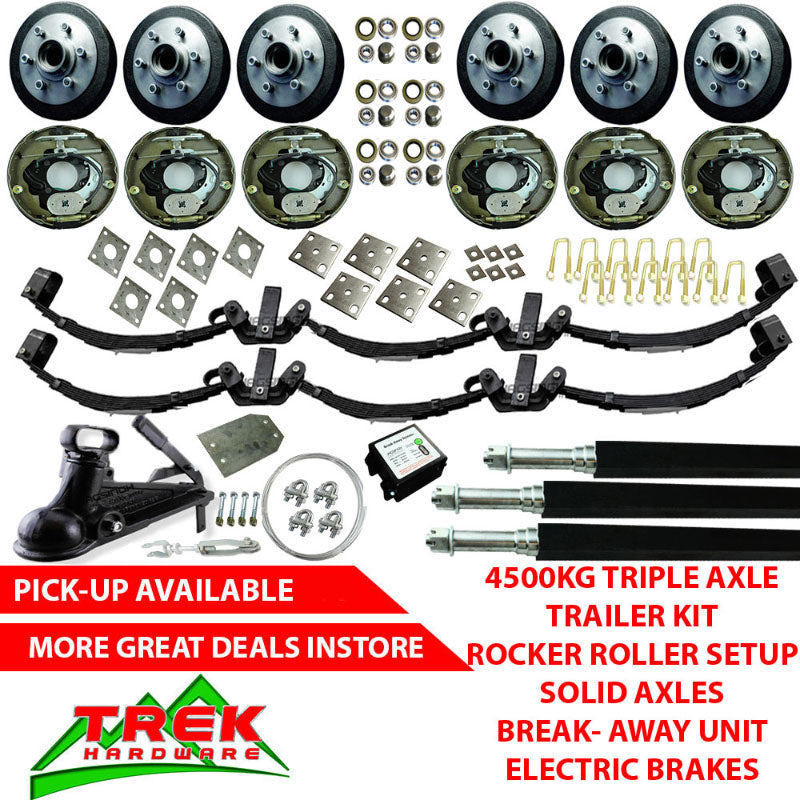
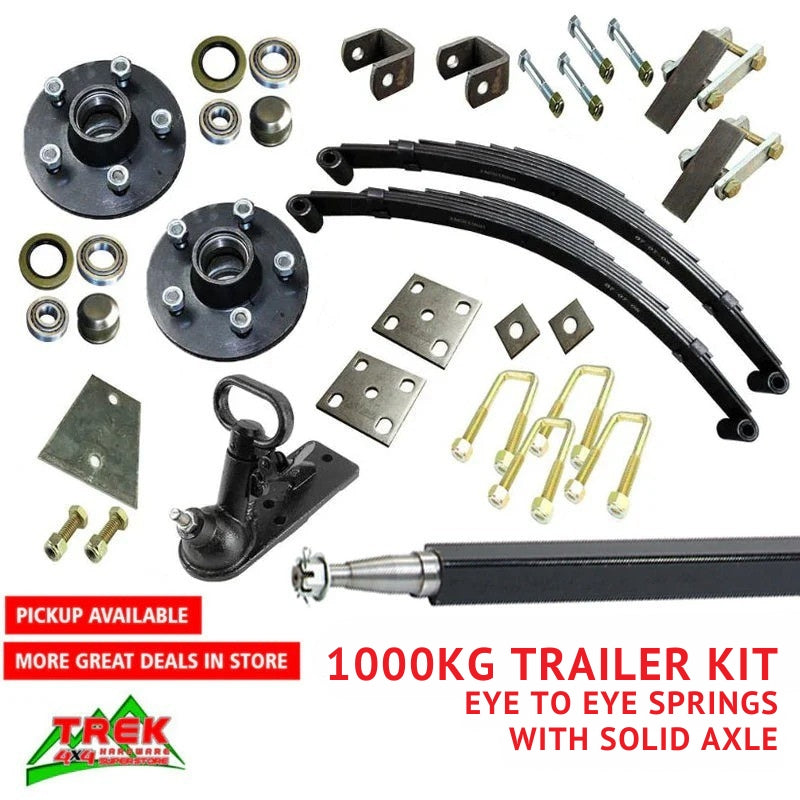

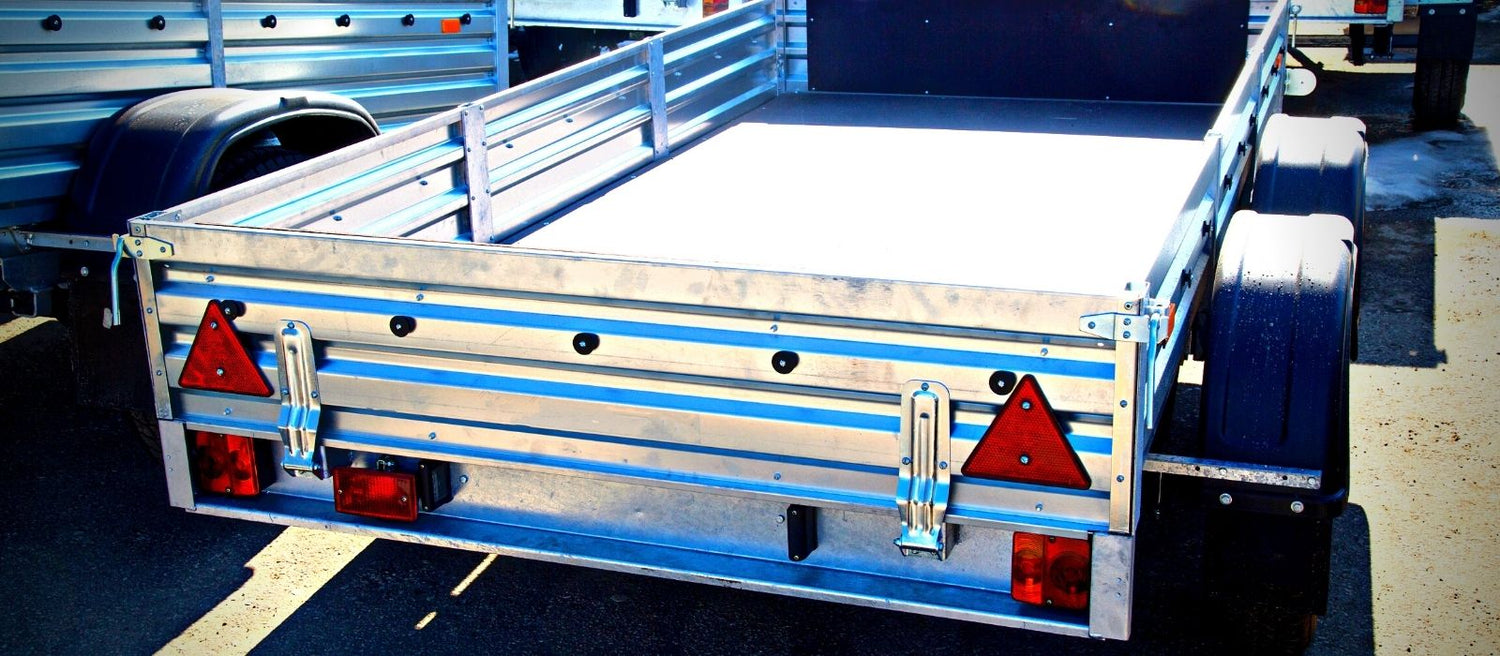
Trailer kits are a popular choice for those looking to build their own trailer. These kits come with all the necessary components to build a functional and safe trailer, including axles, suspensions, drums, brakes, and lighting.
Building your own trailer using a Jagsingh DIY trailer kit can be a rewarding and cost-effective project. With the right tools, some basic mechanical knowledge, and a bit of patience, you can build a trailer that is tailored to your specific needs and requirements. In this guide, we will walk you through the process of building a trailer with a trailer kit, starting with an overview of the different trailer parts that make up complete trailer kits and how they work together
Components of a Trailer Kit:
- Axles
- Mount Plates
- Axle fitting Kits
- Suspensions
- Drums
- Electric Backing Plates
- Bearing Sets
- Couplings
- Brake Cable Kit
- Break Away Box
- Lighting Kit
- Rims and Tyres
Building a Trailer with a Trailer Kit:
- Step 1: Gather the necessary tools and equipment
- Step 2: Lay out the parts and plan your build
- Step 3: Assemble the frame
- Step 4: Install the axles
- Step 5: Install the suspension system
- Step 6: Install the braking system
- Step 7: Install the lighting system
- Step 8: Install the tires and rims
- Step 9: Perform a safety check
Components of a Trailer Kit:
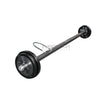
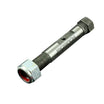
Axles
The axles are the main structural component of a trailer. They provide support for the entire trailer and are responsible for holding the wheels and tires in place. The axles are typically made from steel and come in different sizes and capacities to suit different types of trailers. They are typically attached to the frame of the trailer using u-bolts and slotted fish plates, which provide a secure and stable connection.
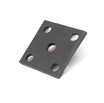
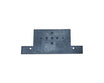
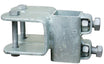
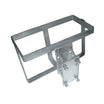
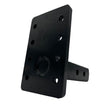
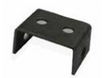
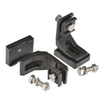
Mount Plates
The mount plates are used to attach the axles and electric backing plates to the frame of the trailer. These plates are typically made from steel and come in different sizes and shapes to suit different types of axles and backing plates. The nuts are used to hold the mount plates in place and provide a secure and stable connection.
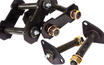
Axle fitting Kits
The axle fitting kits are used to attach the axles to the frame of the trailer. These kits typically include u-bolts, axle pads, and slotted fish plates. The u-bolts are used to hold the axles in place, while the axle pads provide a cushion between the axles and the frame. The slotted fish plates are used to provide additional support and stability to the axles.
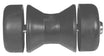
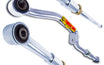
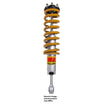
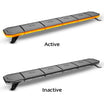
Suspensions
The suspension system of a trailer is responsible for providing a smooth ride and reducing the impact of bumps and potholes on the road. There are two types of suspensions that are commonly used in trailer kits: leaf springs and rocker roller types. Leaf springs are the most traditional type of suspension and are made from a series of steel plates that are stacked on top of one another. Rocker roller suspensions, on the other hand, use a rocker arm and a roller to provide a more advanced and efficient suspension system.
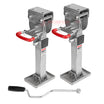
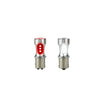
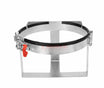
Drums
The drums and nuts are an essential part of the braking system of a trailer. The drums are typically made from metal and provide a surface for the brake shoes to press against, while the nuts are used to hold the drums in place. The dust cap and seals are used to protect the drums and nuts from dust and moisture, which can cause rust and corrosion over time.
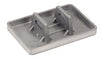
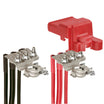
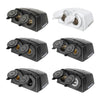
Electric Backing Plates
The electric backing plates and brake shoes are another important component of the braking system. The backing plates provide a surface for the brake shoes to press against, while the magnet is used to generate the electrical power that is needed to activate the brakes. The brake shoes are typically made from a durable material like ceramic, and they are responsible for stopping the trailer when the brakes are applied.
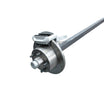
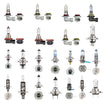
Bearing Sets
The bearing sets are an important component of the trailer's axles. The bearings provide a smooth and stable surface for the wheels to rotate on, and they help to reduce friction and wear on the axles. The bearing sets typically include inner and outer bearings, as well as seals to protect the bearings from dust and moisture.
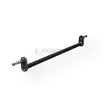
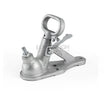
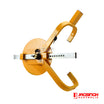
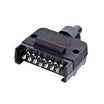
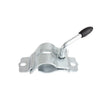
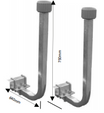
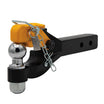
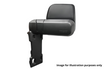
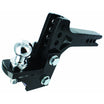
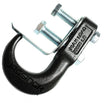
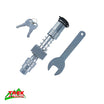
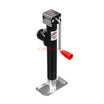
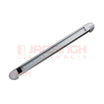
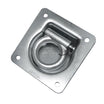
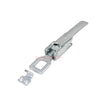
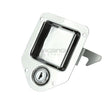
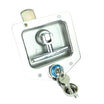
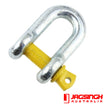
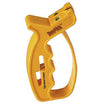
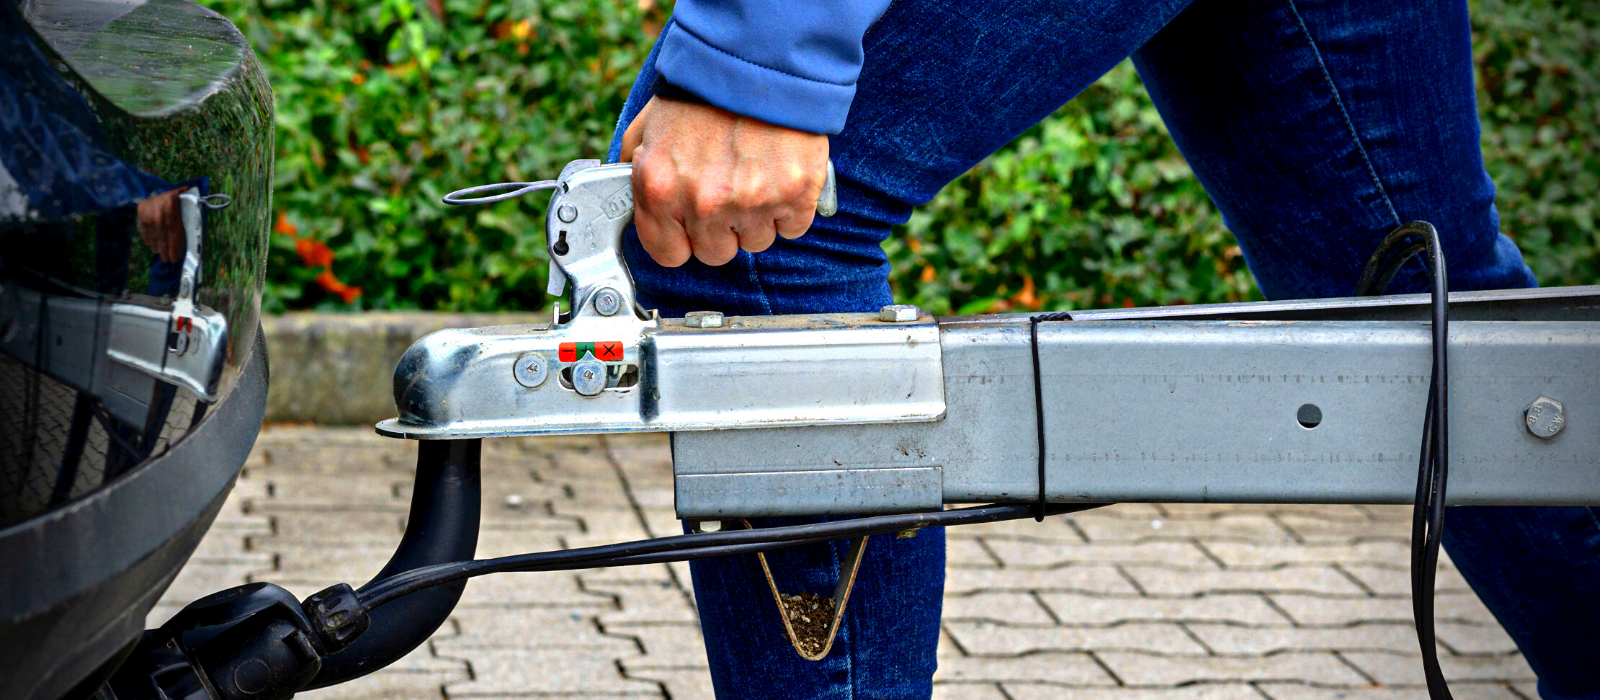
Couplings
The couplings are used to connect the trailer to the tow vehicle. They typically include a hi-tensile bolt and a coupling plate. The hi-tensile bolt is used to secure the coupling to the frame of the trailer, while the coupling plate is used to connect the trailer to the tow vehicle. These components are designed to be strong and durable, able to withstand the forces and stresses of towing a trailer.
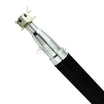
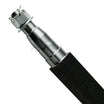
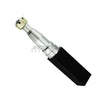
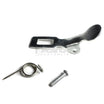
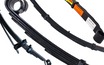
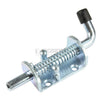
Brake Cable Kit
The brake cable kit is another important component of the braking system. It includes the brake cable, which is responsible for transmitting the force from the brake pedal to the brake shoes, the cable holder, which is used to keep the brake cable in place, and the brake adjuster, which is used to adjust the tension on the brake cable. These components work together to ensure that the brakes are working properly and that the trailer can be stopped quickly and safely.
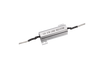
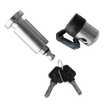
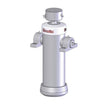
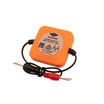
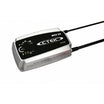
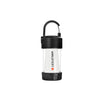
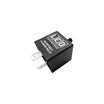
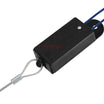
Break Away Box
The break away box is a safety feature that is designed to activate the brakes on a trailer in the event that it becomes detached from the tow vehicle. It includes a switch that is connected to the brakes, and a battery to power the switch. In the event that the trailer becomes detached, the switch will activate the brakes and bring the trailer to a stop. This is a critical safety feature that can prevent accidents and injuries.
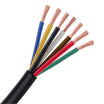
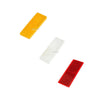
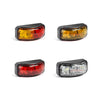
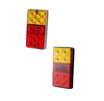
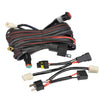
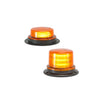
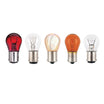
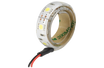
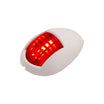
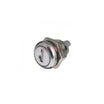
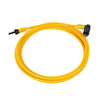
Lighting Kit
The lighting kit is an essential component of any trailer. It includes lights for the front, rear, and sides of the trailer, as well as wiring and connectors. These lights are necessary for safety when towing the trailer on the road, and they are required by law in most jurisdictions.
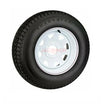
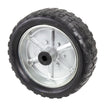
Rims and Tyres
The rims and tires are the final components of a trailer kit. The rims provide a surface for the tires to mount on and hold the tires in place. The tires are responsible for providing traction and support for the trailer. They come in different sizes and types to suit different types of trailers and loads. It is important to select the right type and size of tire for your trailer to ensure safety and proper function.
Building a Trailer with a Trailer Kit:
Note: This is a comprehensive but general how to guide on building a trailer with DIY trailer kits and may not apply to all the kits available in the market. Always read the manuals provided for the specific instructions and hire professional help if needed.
Step 1: Gather the necessary tools and equipment
Before you begin building your trailer, it's essential to gather all the necessary tools and equipment. A basic set of hand tools, such as wrenches, pliers, and screwdrivers, is necessary to assemble the different components of the trailer kit. Power tools like a drill, saw, and welder are also required for certain aspects of the build, such as cutting and welding steel or aluminum tubing for the frame. Additionally, you will need a level, measuring tape, and square to ensure that your trailer is built square and level. It's important to check the list of tools and equipment required in the instruction manual that comes with the trailer kits before starting the build.
Step 2: Lay out the parts and plan your build
Once you have all your tools and equipment, lay out all the parts that come with the trailer kit on a clean, flat surface. This will give you a better idea of what you are working with and help you plan your build. Take note of any specific instructions or recommendations provided with the trailer kits, as well as any measurements or specifications that you will need to keep in mind. This step is crucial as it will allow you to identify any missing parts or potential issues before starting the build.
Step 3: Assemble the frame
The frame of your trailer is the foundation upon which the rest of the trailer will be built. It is typically made up of steel or aluminum tubing and should be assembled first. Follow the instructions provided with the trailer kits to assemble the frame, making sure to use the correct hardware and fittings. It's important to take your time and double-check all connections before moving on to the next step. Use a level and square to ensure that the frame is square and level. A level and sturdy frame is essential for the safety and stability of the trailer.
Step 4: Install the axles
The axles are the next component to install. They provide the support for the wheels and tires and are typically attached to the frame using u-bolts and slotted fish plates. Follow the instructions provided with the trailer kits to install the axles, making sure to use the correct hardware and fittings. It's important to ensure that the axles are securely attached to the frame to prevent any movement or shifting while towing.
Step 5: Install the suspension system
The suspension system is responsible for providing a smooth ride and reducing the impact of bumps and potholes on the road. There are two types of suspensions that are commonly used in trailer kits: leaf springs and rocker roller types. Follow the instructions provided with the trailer kits to install the suspension system, making sure to use the correct hardware and fittings. The suspension system is crucial for the comfort and safety of the trailer, and it's important to ensure that it is installed correctly.
Step 6: Install the braking system
The braking system is an essential component of any trailer. It includes the drums, brake shoes, and electric backing plates. Follow the instructions provided with the trailer kits to install the braking system, making sure to use the correct hardware and fittings. It's important to ensure that the braking system is installed correctly and that the brakes are working properly before towing the trailer. This includes checking the brake cables, brake shoes, and drum components. The brake system is critical for the safety of the trailer, and it's essential to ensure that it is functioning correctly before taking it on the road.
Step 7: Install the lighting system
The lighting system is another essential component of any trailer. It includes lights for the front, rear, and sides of the trailer, as well as wiring and connectors. Follow the instructions provided with the trailer kits to install the lighting system, making sure to use the correct hardware and fittings. It's important to ensure that the lights are working properly and that they are wired correctly before towing the trailer. The lighting system is critical for the safety of the trailer and it's important to make sure that it is installed correctly.
Step 8: Install the tires and rims
The final step is to install the tires and rims. Make sure to select the correct size and type of tire for your trailer to ensure safety and proper function. Follow the instructions provided with the trailer kits to install the tires and rims, making sure to use the correct hardware and fittings. It's important to ensure that the tires and rims are properly inflated and that the lug nuts are tightened to the correct torque.
Step 9: Perform a safety check
Once you have completed building your trailer, it's essential to perform a safety check to make sure everything is working properly. This includes checking the brakes, lights, suspension, and tires to make sure everything is functioning as it should. It's also important to double-check all connections, bolts, and fittings to make sure they are tight and secure. It's important to perform a safety check before using the trailer to ensure that it is safe to tow and that all the components are working correctly.
Conclusion
Building a trailer with a DIY trailer kit can be a challenging but rewarding project. By understanding the different components that make up a trailer kit, you can ensure that your trailer is built to last and that it is safe to use on the road. By following the step-by-step guide provided in this guide, you can build a trailer that is tailored to your specific needs and requirements. Remember to take your time, follow the instructions provided with the trailer kits, and use the correct tools and equipment. With the right preparation and attention to detail, you can build a trailer that will serve you well for years to come.
So what are you waiting for? Take the next step and discover our wide range of trailer kits to start building your dream trailer today!

